安装环境依赖
通过本小节的学习,你将学会使用hardhat对智能合约进行本地部署和测试。
安装本地环境
本项目采用 hardhat 进行智能合约的开发测试工作,由于 hardhat 是一款基于 node.js 的工具,在开始本项目之前,你应该确保电脑上有 node.js 环境,如果还没有安装的话,参考这里安装。
提示
实际上,基于rust编写的开发测试工具foundry,正在逐渐受到开发者们的欢迎,如果想要进一步学习,可以参考官方文档。
接下来,让我们打开终端,在工作目录中输入以下命令:
npx hardhat
你将看到类似下面截图的画面
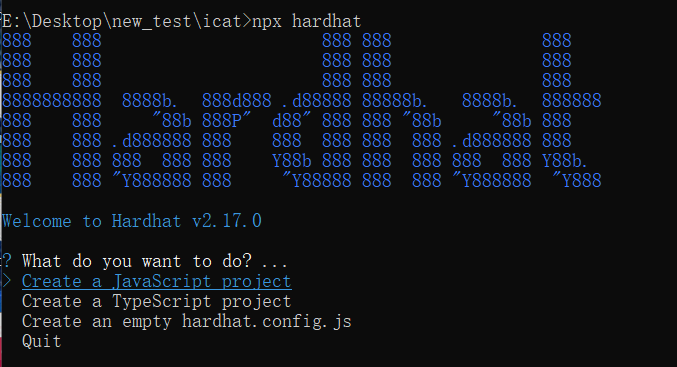
直接回车选择创建一个JavaScript项目,之后后面几项都直接回车确认,直到该命令执行结束,之后输入code .回车开始使用VSCode编辑该项目。
在工作目录下,你可以看到如下的工作树
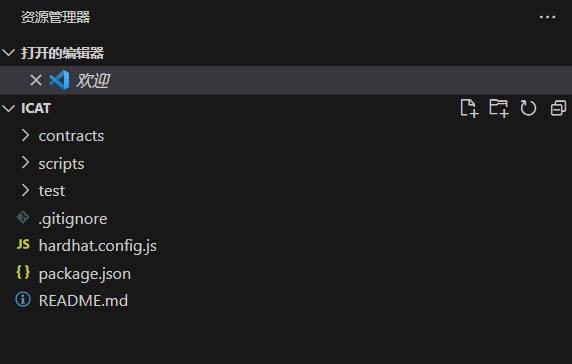
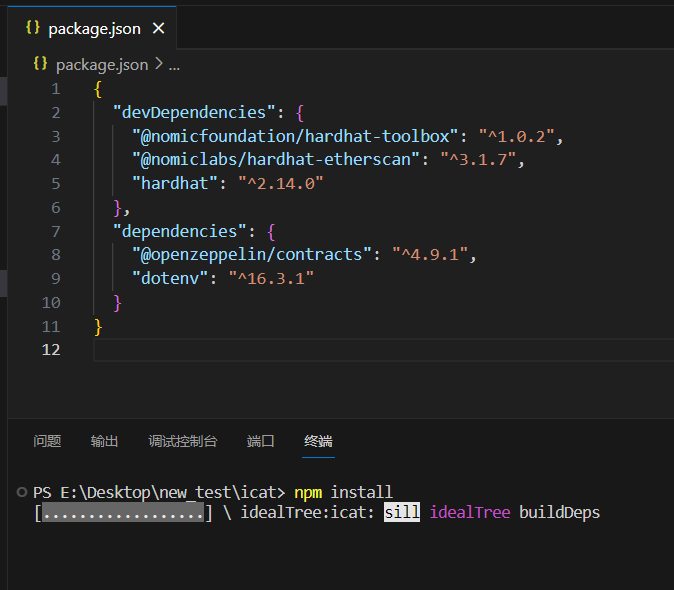
为了防止软件包版本不同导致接下来的教程失效,将上图中的package.json文件内容全部删除,然后替换为以下内容并保存:
package.json
{
  "devDependencies": {
    "@nomicfoundation/hardhat-toolbox": "^1.0.2",
    "@nomiclabs/hardhat-etherscan": "^3.1.7",
    "hardhat": "^2.14.0"
  },
  "dependencies": {
    "@openzeppelin/contracts": "^4.9.1",
    "dotenv": "^16.3.1"
  }
}
之后在终端执行npm install,等待安装完成。
运行项目
将scripts文件夹下的deploy.js内容全部删除,然后替换为以下代码:
deploy.js
// We require the Hardhat Runtime Environment explicitly here. This is optional
// but useful for running the script in a standalone fashion through `node <script>`.
//
// You can also run a script with `npx hardhat run <script>`. If you do that, Hardhat
// will compile your contracts, add the Hardhat Runtime Environment's members to the
// global scope, and execute the script.
const hre = require("hardhat");

async function main() {
  const currentTimestampInSeconds = Math.round(Date.now() / 1000);
  const unlockTime = currentTimestampInSeconds + 60;

  const lockedAmount = hre.ethers.utils.parseEther("0.001");

  const lock = await hre.ethers.deployContract("Lock", [unlockTime], {
    value: lockedAmount,
  });

  await lock.deployed();

  console.log(
    `Lock with ${ethers.utils.formatEther(
      lockedAmount
    )}ETH and unlock timestamp ${unlockTime} deployed to ${lock.address}`
  );
}

// We recommend this pattern to be able to use async/await everywhere
// and properly handle errors.
main().catch((error) => {
  console.error(error);
  process.exitCode = 1;
});
在终端运行下面代码:
npx hardhat run ./scripts/deploy.js
可以看到下图的正确运行提示,这就说明hardhat开发测试环境安装成功。

在下一小节中,我们将正式开始智能合约的开发。